Why a Homemade Jerk Spice Blend Beats Store-Bought Every Time
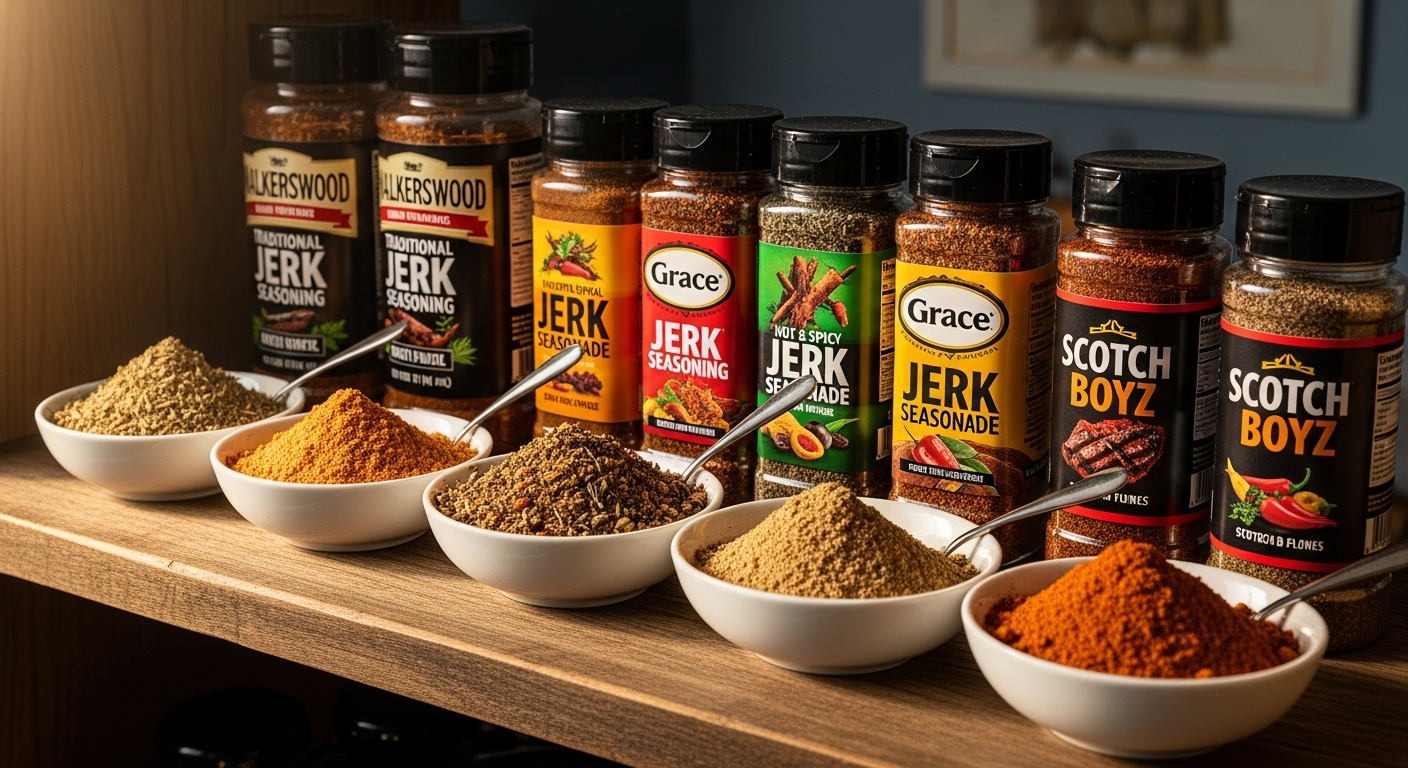
A homemade jerk spice blend gives you complete control over the flavor, heat level, and freshness of your seasoning, producing results that store-bought blends simply cannot match. Commercial jerk seasonings sit on shelves for months or even years, during which time the volatile oils in the spices degrade significantly. When you make your own homemade jerk spice blend, you are working with freshly toasted and ground spices that deliver their full aromatic potential to every dish you prepare.
The difference between a freshly made blend and a store-bought one becomes immediately apparent the moment you open the jar. A homemade jerk spice blend fills the room with an intoxicating aroma of warm allspice, earthy thyme, and fiery pepper. A commercial blend often smells flat by comparison, with a one-dimensional dustiness that reflects its age rather than its ingredients.
Beyond freshness, making your own blend allows you to customize the recipe to your exact preferences. Want more heat? Add extra scotch bonnet flakes. Prefer a smokier profile? Increase the smoked paprika. Need to accommodate a family member who is sensitive to garlic? Reduce or omit it. This flexibility is simply not possible with pre-made seasonings.
The Essential Ingredients for an Authentic Homemade Jerk Spice Blend
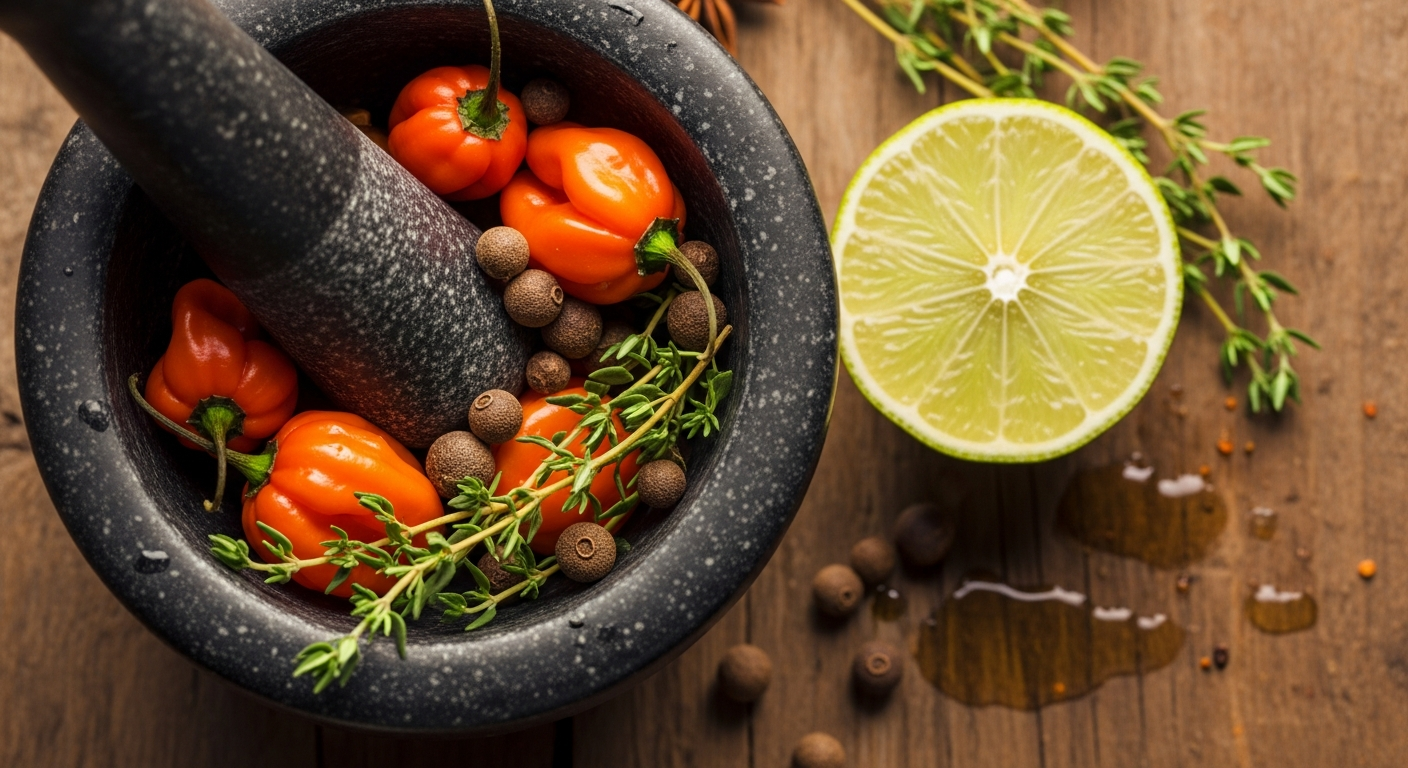
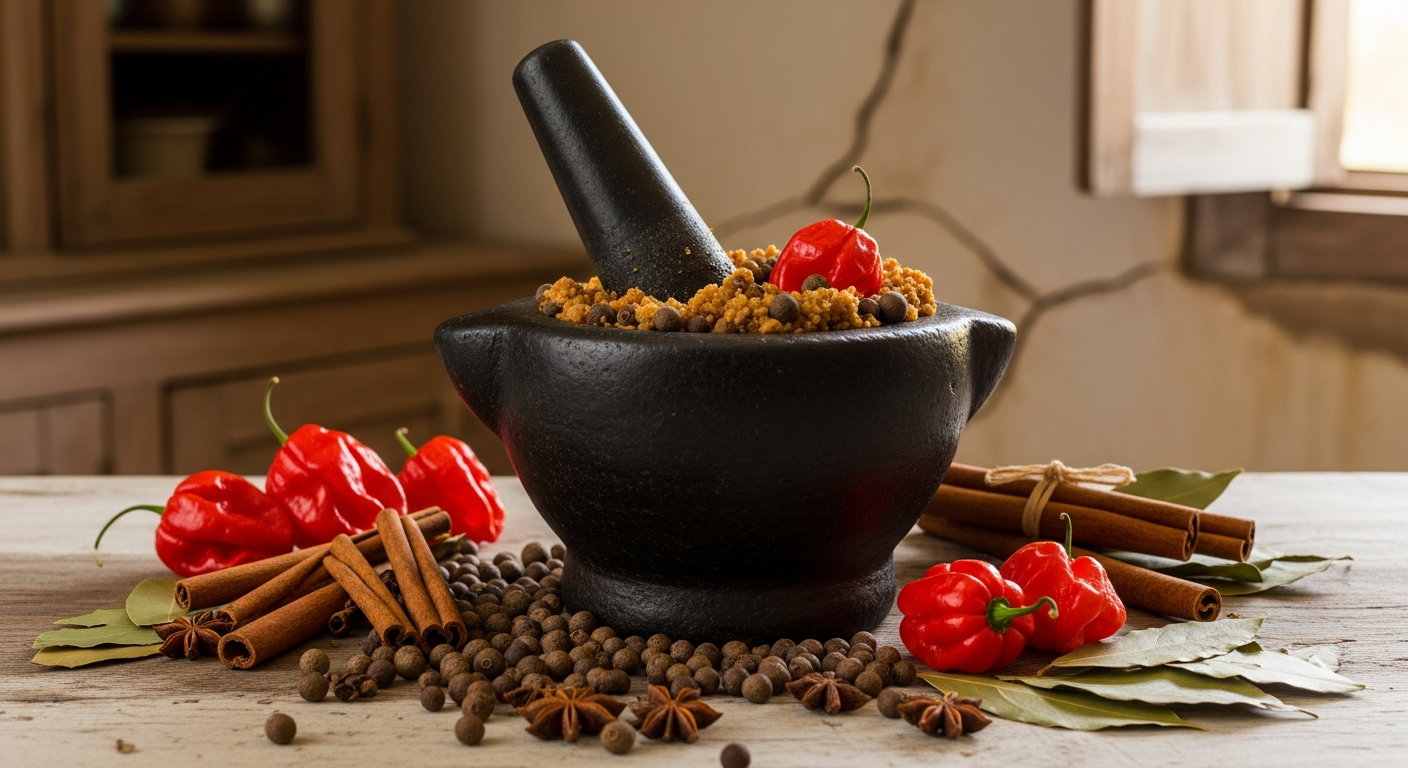
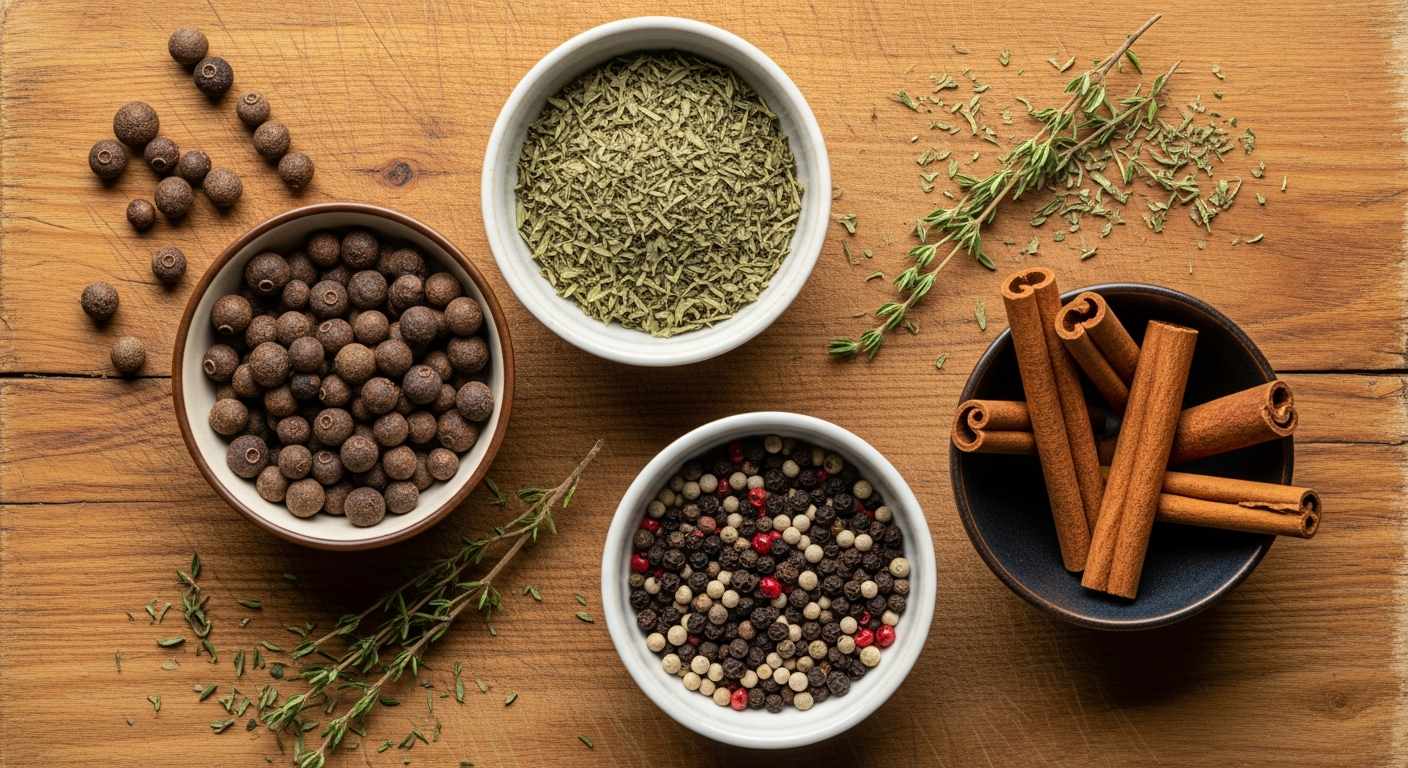
Every authentic jerk spice blend starts with allspice. Known as pimento in Jamaica, allspice is the single most important ingredient in jerk seasoning. It provides the warm, aromatic base note that defines the jerk flavor profile. Whole allspice berries, toasted and freshly ground, deliver a depth of flavor that pre-ground allspice cannot approach. You need approximately two tablespoons of whole berries, which will yield about one and a half tablespoons when ground.
Dried thyme is the second pillar of the blend. Fresh thyme is preferred for wet marinades, but for a dry spice blend, dried thyme leaves work perfectly. Their concentrated herbal flavor stands up well to the other bold spices in the mixture. Use about one tablespoon of dried thyme leaves, crumbled between your fingers to release their essential oils before adding to the blend.
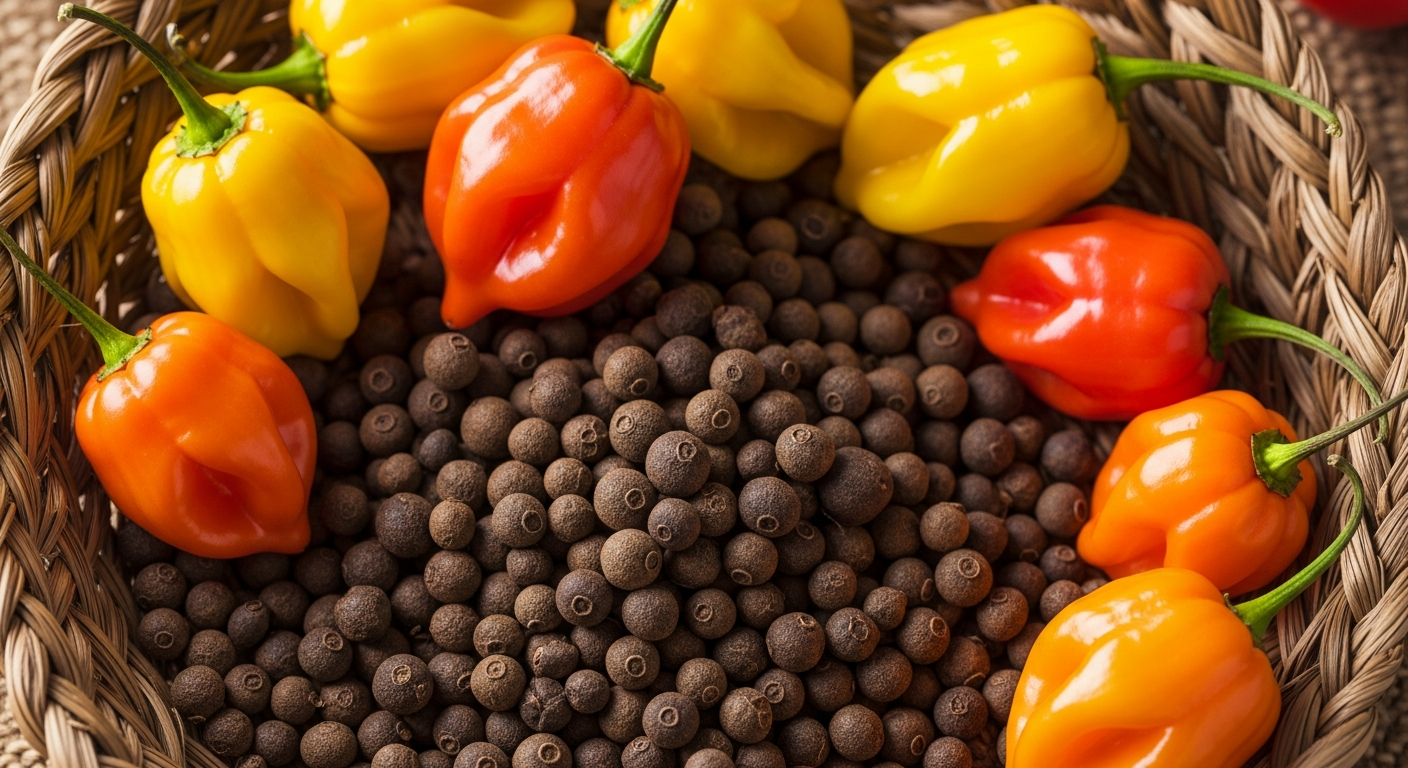
Scotch bonnet pepper flakes or powder provide the signature heat. The scotch bonnet pepper has a unique fruity, slightly sweet heat that is quite different from cayenne or other common dried peppers. If you cannot find dried scotch bonnet, habanero flakes are the closest substitute, though they lack the subtle sweetness. Start with one teaspoon and adjust up or down based on your heat tolerance.
Garlic powder and onion powder provide savory depth. Use one tablespoon of garlic powder and one tablespoon of onion powder. These dried forms work better than their fresh counterparts in a shelf-stable spice blend because they distribute evenly and do not introduce moisture that could cause clumping or spoilage.
Brown sugar is a traditional but optional ingredient that adds a subtle sweetness and promotes caramelization during cooking. One tablespoon is sufficient. If you are making a blend for use with a wet marinade that already contains brown sugar or molasses, you can omit it from the dry blend.
Additional ingredients that round out the blend include smoked paprika (one teaspoon for color and subtle smokiness), ground cinnamon (half a teaspoon for warmth), ground nutmeg (quarter teaspoon for aromatic complexity), ground ginger (one teaspoon for brightness), black pepper (one teaspoon for sharp heat), and salt (one tablespoon, or to taste).
The Toasting and Grinding Process
The step that transforms a good spice blend into a great one is toasting the whole spices before grinding. This process, which takes only a few minutes, activates the volatile oils in the spices and creates new flavor compounds through the Maillard reaction, producing a depth of flavor that raw spices cannot provide.
Place the whole allspice berries and black peppercorns in a dry skillet over medium heat. Shake the pan frequently and toast for two to three minutes until the spices become fragrant and you can see the faintest wisp of smoke rising from the pan. Remove immediately from the heat because spices go from perfectly toasted to burnt in seconds.
Transfer the toasted spices to a spice grinder, coffee grinder dedicated to spices, or a mortar and pestle. Grind until you achieve a fine, uniform powder. If using a mortar and pestle, this will take several minutes of vigorous grinding, but many cooks prefer this method because the slightly uneven texture creates interesting flavor bursts in the finished dish.
Combine the freshly ground toasted spices with the remaining pre-ground ingredients in a bowl and mix thoroughly. Run the entire mixture through the grinder one more time for thirty seconds to ensure everything is uniformly blended. This final grind also helps release oils from the dried thyme and scotch bonnet flakes, further integrating the flavors.
Perfecting Your Homemade Jerk Spice Blend Ratios
The beauty of making your own jerk spice blend is the ability to fine-tune the ratios to match your personal taste. However, there is a traditional framework that serves as an excellent starting point. The blend should be approximately forty percent allspice by volume, as this is the backbone of the flavor. Thyme should comprise about fifteen percent, providing the herbal counterpoint. Heat from scotch bonnet flakes should be around ten percent, though this is the most variable component. The remaining thirty-five percent is split among the supporting spices.
After your first batch, cook a small test portion. Sprinkle a teaspoon of the blend on a plain chicken thigh, grill or pan-sear it, and taste critically. Is the allspice prominent enough? Is the heat level appropriate? Does it need more herbal character? Adjust the ratios for your next batch based on your findings.
Keep detailed notes on your adjustments. After three or four iterations, you will arrive at your personal signature blend that reflects your unique taste preferences. Many jerk enthusiasts guard their final recipe as carefully as any family secret.
How to Use Your Homemade Jerk Spice Blend
Your homemade jerk spice blend is incredibly versatile and can be used in several different ways depending on the dish and your available time.
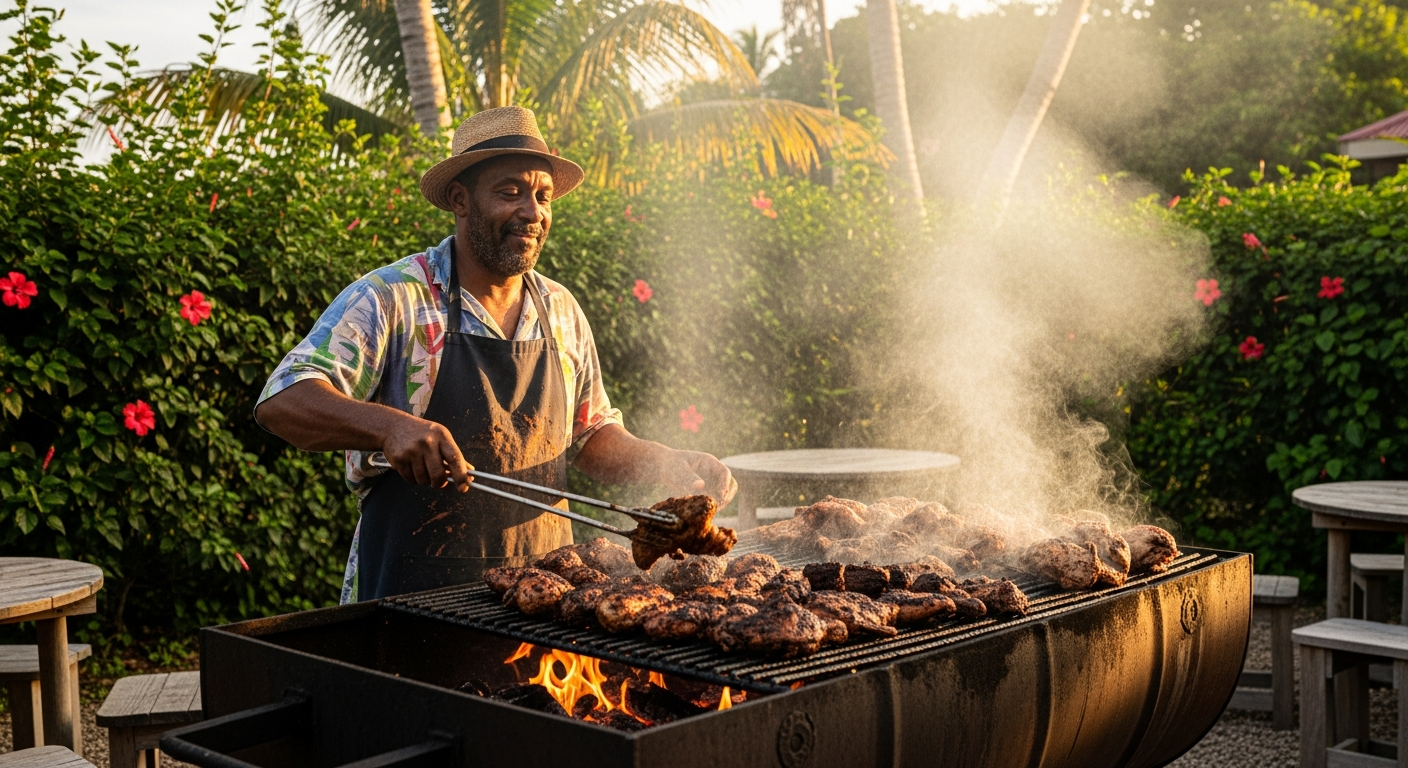
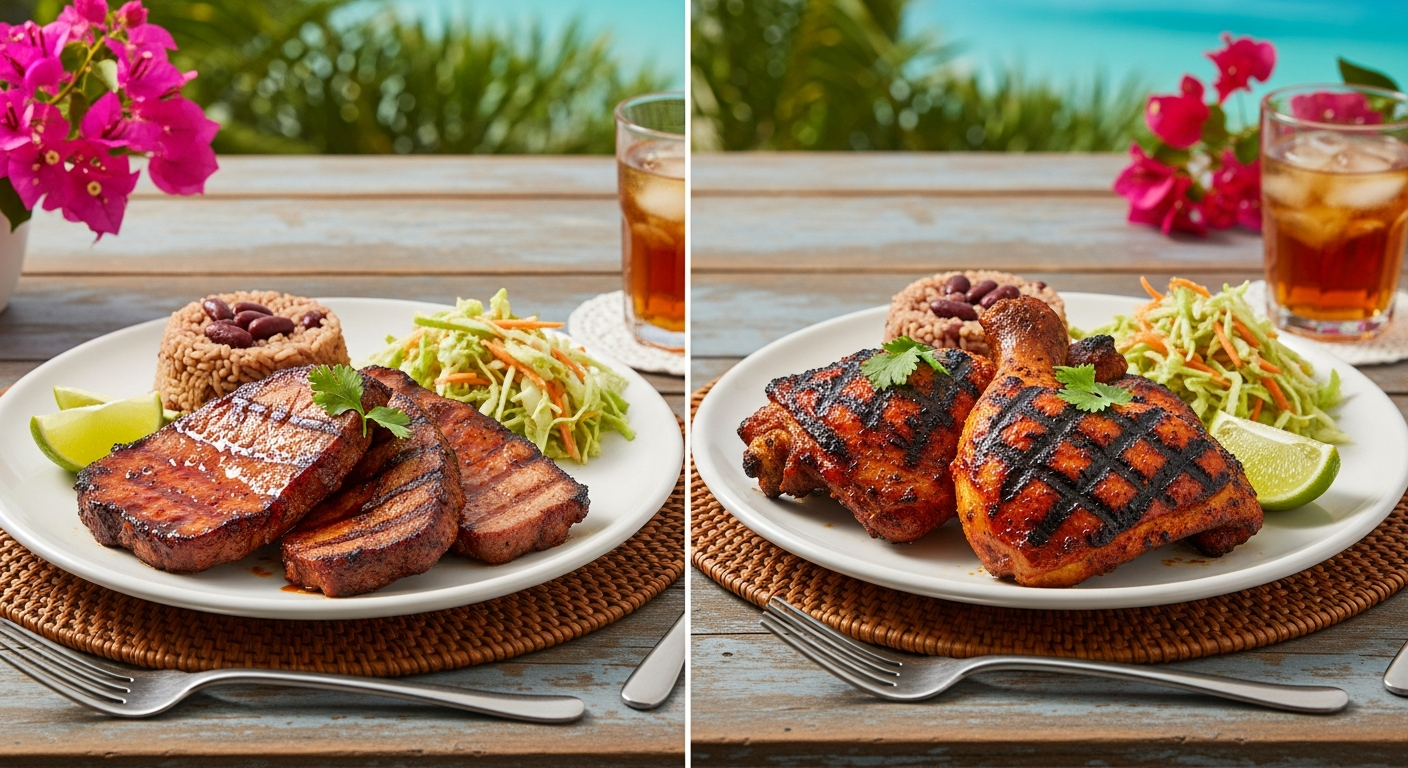
As a dry rub, apply two tablespoons per pound of meat, rubbing it firmly into the surface and into any scores or cuts you have made. Let the rubbed meat rest in the refrigerator for at least two hours and up to overnight. The salt in the blend will draw moisture from the meat, which then dissolves the spices and gets reabsorbed, creating a self-marinating effect.
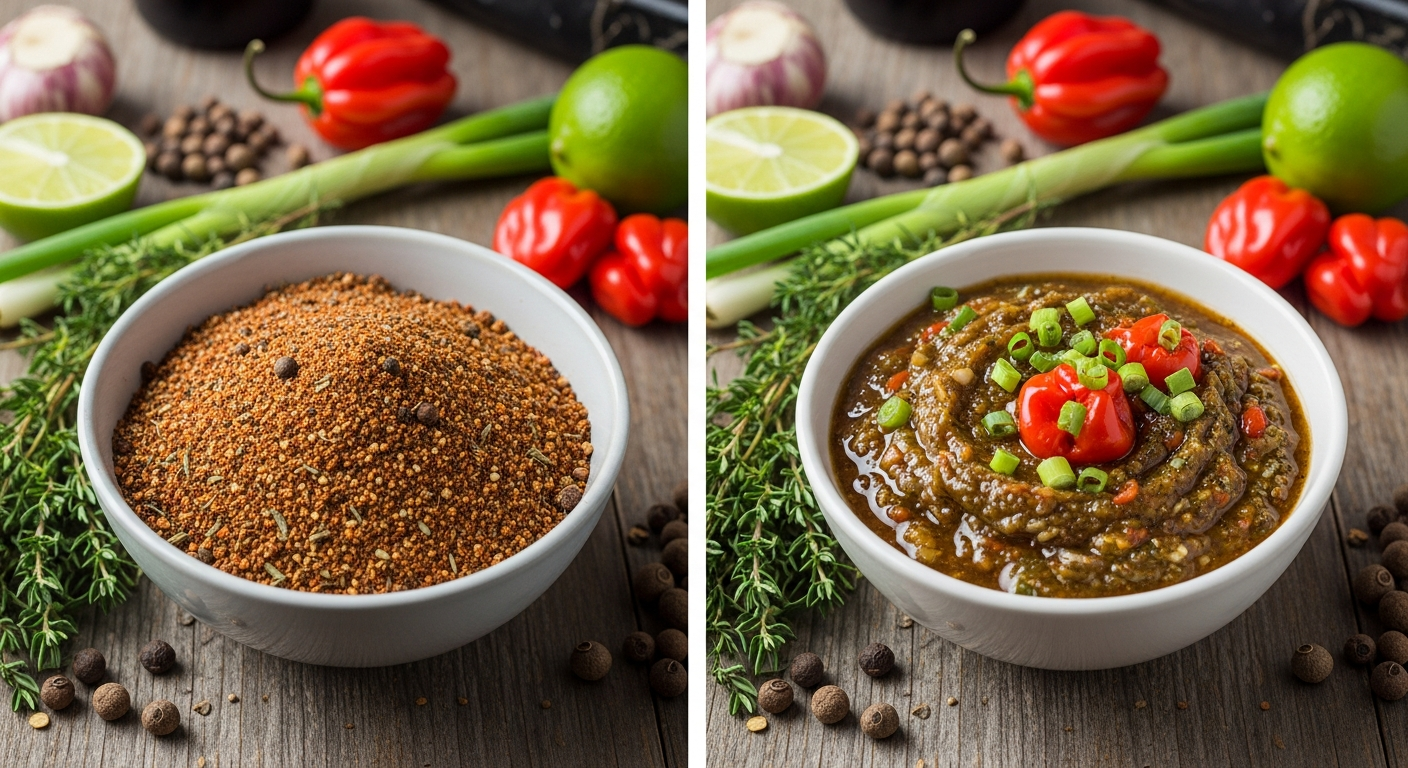
To convert into a wet marinade, combine three tablespoons of the dry blend with the juice of two limes, three tablespoons of soy sauce, two tablespoons of vegetable oil, one tablespoon of vinegar, and a tablespoon of brown sugar. Blend until smooth. This creates an instant jerk marinade with the complexity of a from-scratch recipe but the convenience of a pre-made blend.
As a finishing seasoning, sprinkle a small amount over grilled vegetables, popcorn, roasted nuts, or even sliced fresh fruit like mango or pineapple. The blend adds an unexpected kick that elevates simple foods into something memorable.
For soups and stews, add one to two tablespoons of the blend during the cooking process. It transforms a basic chicken soup into a Caribbean-inspired creation, and it works wonderfully in bean stews, lentil dishes, and rice pilafs.
Storage and Shelf Life
Store your homemade jerk spice blend in an airtight glass jar, away from direct sunlight and heat. A dark cabinet or pantry is ideal. Under these conditions, the blend will maintain its full potency for approximately three months. After that, the flavors will begin to diminish, though it will remain usable for up to six months.
For maximum freshness, consider making smaller batches more frequently rather than one large batch. A quarter-cup batch is enough for four to five meals and takes less than fifteen minutes to prepare. This approach ensures you are always cooking with the freshest possible seasoning.
Label your jars with the date of preparation and any ratio modifications you have made. This helps you track which blend you liked best and ensures you do not use seasoning that has passed its prime. If a blend seems to have lost its punch, it is time to make a fresh batch rather than simply using more of the old one.
You can also freeze the blend in a freezer-safe container for up to one year without significant loss of flavor. The cold temperature slows the degradation of the volatile oils that give the spices their character. Just bring it to room temperature before using to allow the oils to become active again.